Introduction
As a PC enthusiast, I’ve always taken pride in maintaining my system. My setup includes an Asus Prime 250M-A motherboard, 32GB of RAM, an Intel Core i5-7400 processor, and Intel onboard Graphics 630. Housed in a mini ATX case with two vibrant RGB fans and one exhaust fan, my rig is built for efficiency and style. I use a dual monitor setup and rely on an AVR to protect my system from power fluctuations, which are all too common where I live. During the past three weeks, the file storage hard disk drive failed due to five successive power outages. However, despite these precautions, I recently encountered a frustrating issue when my PC wouldn’t display anything after I replaced a dead PSU. This is the story of how I diagnosed the problem and brought my PC back to life.

The Initial Problem
It was a typical evening when I last used my PC. Everything was working perfectly fine, and I didn’t think twice about leaving the UPS on as I turned in for the night. But when morning came, I was met with a PC that wouldn’t turn on. No standby light on the motherboard, no signs of life—it was clear that something had gone terribly wrong.
Diagnosing the Dead PSU

My first instinct was to check the Power Supply Unit (PSU), as it’s often the culprit in such scenarios. I removed the PSU from my PC and conducted a thorough visual inspection. Here’s what I checked:
- Burnt or Disconnected Parts: I looked for any obvious signs of damage like burnt components or loose connections, but found none.
- Main Components of the Switched PSU: I inspected the fuse, rectifier diodes, fusible resistors, capacitors, and transistors—all seemed to be in good condition.
- Optocoupler: As an extra measure, I replaced the optocoupler with a new one and re-soldered the terminals of the main components.
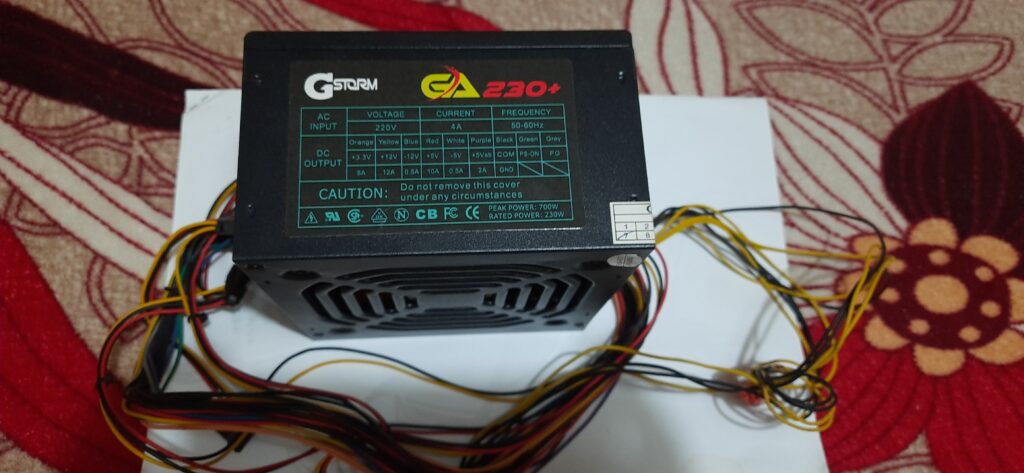
After reassembling everything, I conducted the standard PSU test by shorting the green wire to the black (ground) wire on the PSU connector and plugging it into a power source. To my disappointment, the fan didn’t spin, confirming that the PSU was indeed dead.
Installing a New PSU

With the dead PSU confirmed, I decided it was time to replace it. I headed to a local shop and purchased a new 700W PSU for 450 PHP. Before installing the new PSU, I took the opportunity to clean the inside of my PC. Dust had accumulated over time, so I:
Before installing the new PSU, I took the opportunity to clean the inside of my PC. Dust had accumulated over time, so I:
- Removed Dust: I thoroughly cleaned the interior of the PC, focusing on the fans and heatsinks.
- Cleaned the CPU Heatsink and Fan: I removed the CPU heatsink, cleaned it, and ensured the CPU fan was also free of dust.
- Installed the New PSU: Once everything was clean, I installed the new PSU and switched the power on.
The RGB fans, CPU fan, and back exhaust fan started spinning, but there was still no BIOS post and no display on the monitor.
Troubleshooting Further: The RAM Investigation
At this point, I suspected that the issue might be with the motherboard or the CPU, possibly due to power surges that are all too common with the unreliable electricity supply in the Philippines. However, I wasn’t ready to give up just yet.
Resetting the BIOS
I reset the BIOS by removing the CMOS battery, waiting a few minutes, and then putting it back. Unfortunately, this didn’t solve the problem—still no BIOS post and no display.
Checking the RAM
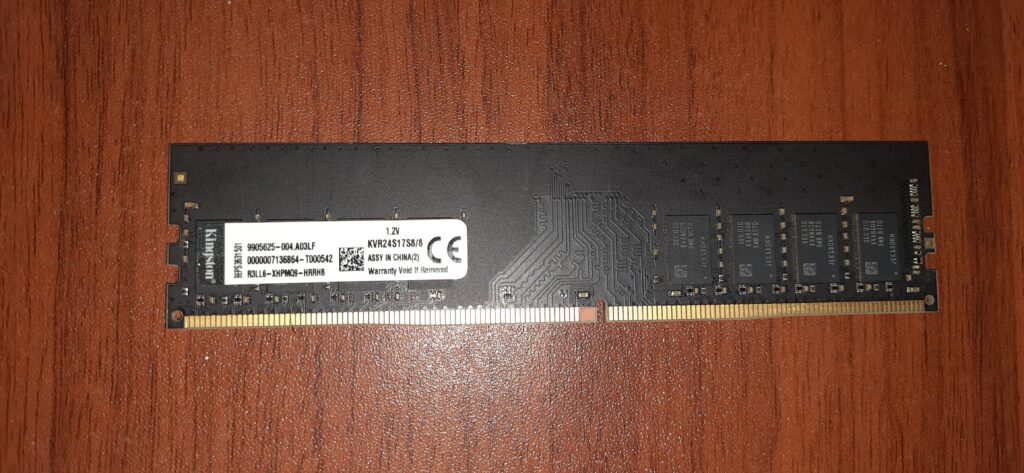
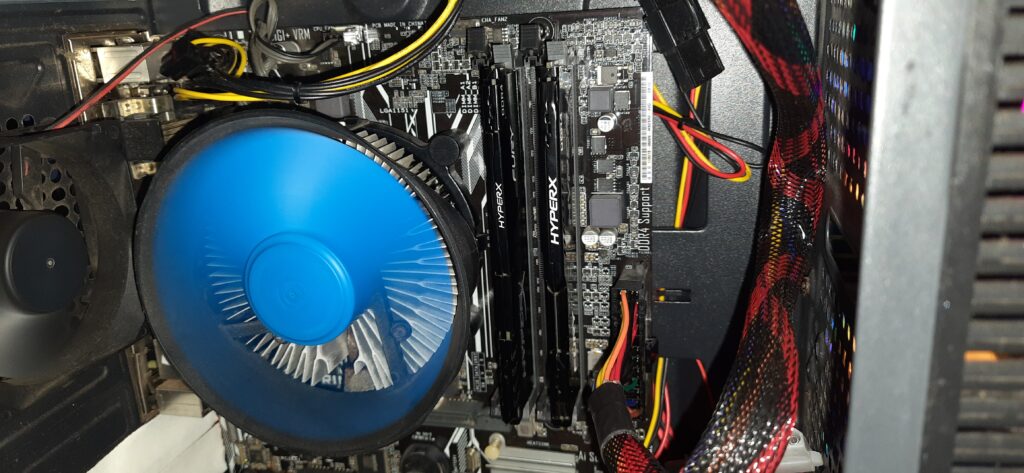
Next, I turned my attention to the RAM sticks. I had three RAM sticks installed:
- One 16GB stick
- Two 8GB sticks
I decided to test each RAM stick individually:
- I removed all RAM sticks from the motherboard.
- Then, I booted the PC with one RAM stick at a time.
Despite my efforts, the problem persisted with each RAM stick. At this point, I began to suspect that all my RAM sticks might be defective, but I was skeptical.
The Breakthrough: Borrowing a RAM Stick
To rule out the possibility of all my RAM being faulty, I borrowed an 8GB RAM stick from my nephew’s PC. I installed it into my motherboard and booted the PC. To my surprise and relief, the BIOS posted, and the PC booted into Windows 10!
The Final Fix: Cleaning and Testing the RAM
With the borrowed RAM stick working, I suspected that my RAM sticks weren’t completely dead, but perhaps needed some cleaning. Here’s what I did:
- Cleaned the Gold Fingers: I carefully cleaned the gold-plated terminals (Gold Fingers) of all three RAM sticks using a pencil eraser and electronic cleaner spray.
- Installed the RAM Sticks One at a Time: I tested each RAM stick one at a time, alongside the borrowed 8GB RAM stick.
The results were:
- 16GB Stick: Worked fine.
- Second 8GB stick with a heat sink: Worked fine.
- Third 8GB stick without a heat sink: Caused the PC to not boot.

After confirming that the third 8GB stick was the problem, I removed it and the borrowed stick and reinstalled the other two working sticks. My PC was back to life, albeit with 8GB less RAM.

Conclusion
In the end, what started as a daunting problem with no display after replacing a dead PSU turned out to be a faulty RAM stick without a heat sink. The relief I felt knowing that I didn’t have to replace the motherboard or CPU—potentially saving me around 10,000 PHP—was immense.
This experience was a valuable lesson in thorough troubleshooting, and it goes to show that sometimes the problem isn’t as severe as it might initially seem. So, if you ever find yourself in a similar situation, remember to check your RAM thoroughly—it might just save you a lot of time, money, and stress.